Software installation
This course primarily uses the R data science programming language and we strongly advise you complete the assignment using it. We briefly touch upon ArcMap and QGIS to give you a basic foundation in the range of spatial software available, please follow the instructions below before the first practical session to install the software on your local computer if you are planning to use it throughout the course.
ArcGIS
ArcGIS should be installed as a standard programme in the UCL desktop and you can navigate to it from the Windows start button.
Installing ArcGIS on your own computer
As a UCL student, you can install ArcGIS on your own computer. This is easy if you have a PC, but if you have a Mac this can be trickier as Arc will only run in a PC environment. If you have a Mac, the options open to you are either to:
- Run ArcGIS through the Desktop@UCL application — http://www.ucl.ac.uk/isd/services/computers/remote-access/desktop
- Duel boot your machine using bootcamp, install Windows (7 or 8 is fine) and then install Arc onto the Windows partition.
- Install some kind of virtualisation software such as Parallels or VMware, and run Arc on a virtual windows machine
If you can, it is preferable to run Arc on Bootcamp as virtualisation software can be slow, but the Desktop@UCL facility should suffice for this course. ArcGIS (Version 10.6 is the latest at time of writing, but may have already been superseded) can be downloaded from the UCL Software Database for free
Make sure you read the instructions provided by the UCL Software Database on how to activate ArcGIS fully if installing onto your own machine as you have to set the license correctly.
ArcGIS suite
ArcGIS is actually a whole suite of software built and maintained by ESRI (http://www.esri.com/software/arcgis).Within the ArcGIS for Desktop suite you will find the following programmes:
ArcCatalog — Similar to Windows Explorer, ArcCatalog allows you to manage your GIS files, folders and geodatabases
ArcGIS Administrator — This programme us used to manage licences for the various elements of ArcGIS
ArcGlobe — ArcGlobe allows you to view and analyse your data in 3D –– this interface looks very similar to Google Earth and is part of the 3D analyst extension
ArcMap — This is the programme you will use most often –– it is the main mapping and spatial analysis element of ArcGIS
ArcScene — ArcScene is a 3D viewer which allows you to navigate and interact with your 3D raster and feature data
ArcCatalog and ArcMap are in bold as these are the only programmes we will be using explicitly in this course. By all means experiment with the others if you have any spare time!
QGIS
QGIS is very similar to ArcMap except that as it is open-source and free there are many add on packages that (or plugins) that provide additional functionality to the software.
To get QGIS on your personal machine go to: https://qgis.org/en/site/forusers/download.html
I install the OSGeo4W version. The nature of open-source means that several programs will rely on each other for features. OSGeo4W tracks all the shared requirements and does not install any duplicates.
R
R is both a programming language and software environment, originally designed for statistical computing and graphics. R’s great strength is that it is open-source, can be used on any computer operating system and free for anyone to use and contribute to. Because of this, it is rapidly becoming the statistical language of choice for many academics and has a huge user community with people constantly contributing new packages to carry out all manner of statistical, graphical and importantly for us, geographical tasks.
Setup 1
Search for and open RStudio.
You can install R Studio on your own machine from: https://www.rstudio.com/products/rstudio/download/#download
R studio requires R which you can download from: https://cran.rstudio.com/
RStudio is a free and open-source integrated development environment for R — it makes R much easier to use.
If you are using a Mac and run into issues, firstly follow the instructions below then check out the Mac R issues section if the problem persists.
Setup 2
If RStudio insn’t installed on your practical room PC…fear not…the good people over at RStudio have created a cloud version…you have to sign up but can use it the same as the desktop version. It even works with Git and GitHub which we will cover later on in the course. The only real limitation is the upload file size — if you have any kind of ‘big data’ then you will reach the allowed limit. That won’t be a problem for the majority of this course except Advanced raster analysis…that said you can now link R to googledrive and access any data stored on it with the googledrive() function that is part of the tidyverse package. You could possibly do this one OneDrive too, but it’s not as intuitive, have a look here. But for now, don’t worry about this, just note it for future reference.
RStudio cloud is really useful for sharing code and working collaboratively as you can add different users to the project.
I’d recommend using RStudio locally (following Setup 1) to start with. If you are using RStudio cloud you’ll need to make a new workspace and upload the files we are using here with the upload button….
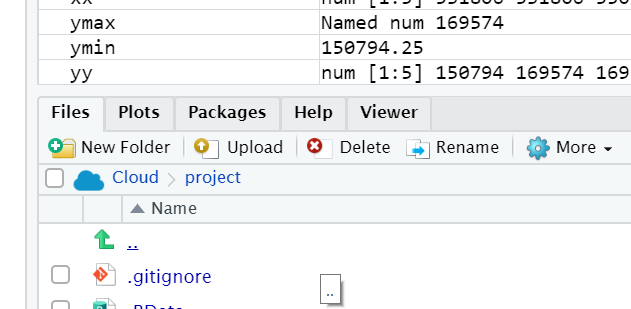
If you upload a shapefile you will need to incldue all the relevant files and upload them to RStudio cloud as a .zip